
When building a website, images play a critical role in shaping the visual appeal and overall user experience. In WordPress, using the right image sizes not only enhances the look of your site but also impacts its speed, SEO, and functionality. In this guide, we’ll dive deep into what size image to use on WordPress for different elements, such as featured images, thumbnails, and more. We’ll also provide tips on optimizing images for faster load times and better search engine rankings.
Choosing the right image size in WordPress is crucial for several reasons:
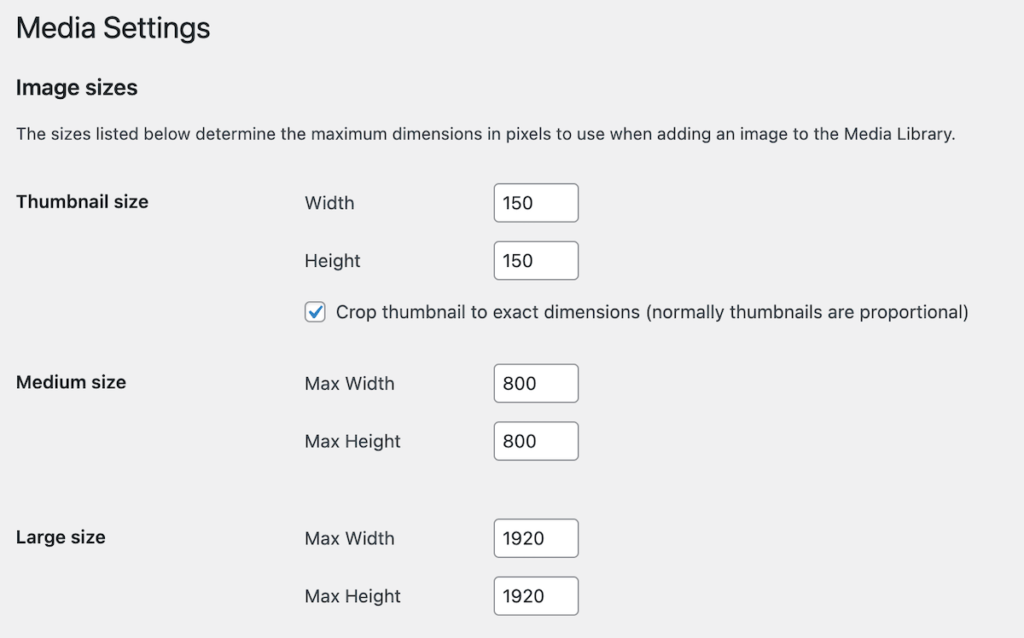
Before diving into specific image sizes, it’s essential to understand that WordPress generates several versions of your images automatically upon upload. These are the default image sizes in WordPress:
These sizes can be customized in your WordPress settings under Settings > Media, where you can specify new dimensions for each category.
To ensure your WordPress site looks polished and performs well, here are the recommended image sizes for different elements:
Featured images are often used at the top of blog posts, on archive pages, and in social media sharing. They need to be large enough to look good across all platforms but optimized to prevent slow loading times. A size of 1200×628 pixels ensures compatibility with most WordPress themes and social media platforms like Facebook and Twitter.

Thumbnail images are commonly used for post previews in grids or lists, such as on category or blog index pages. Keeping them small (150×150 pixels) helps maintain page load speeds while ensuring the images look crisp.

For images embedded in the body of a blog post or page, it’s best to use images that are wide enough to cover the content area but not too large to hinder performance. A width of around 1200 pixels is ideal for most themes. For full-width images, you may opt for larger images up to 1920×1080 pixels, but ensure they are optimized.

A hero image or header image is typically the first thing visitors see on your homepage. It sets the tone for your website’s branding, so it should be high-quality. A size of 1920×1080 pixels works well for desktop displays, but ensure that the image is responsive for mobile users.

Background images are used for large sections of a website, such as full-screen sliders or parallax backgrounds. They need to be large enough to look good across high-resolution displays without becoming pixelated.

Your website’s logo should be clear and legible across different devices, from mobile screens to large desktop monitors. A logo image that is 200 pixels wide and 100 pixels tall is ideal for most website headers.
Favicons are small icons that represent your website in browser tabs and bookmarks. A square image of 512×512 pixels ensures that the favicon looks sharp on high-DPI devices.

Even if you upload the right-sized images, they still need to be optimized to prevent performance issues. Here are a few techniques to ensure your images are properly optimized:
By choosing the correct file format, you can reduce image sizes without sacrificing quality.
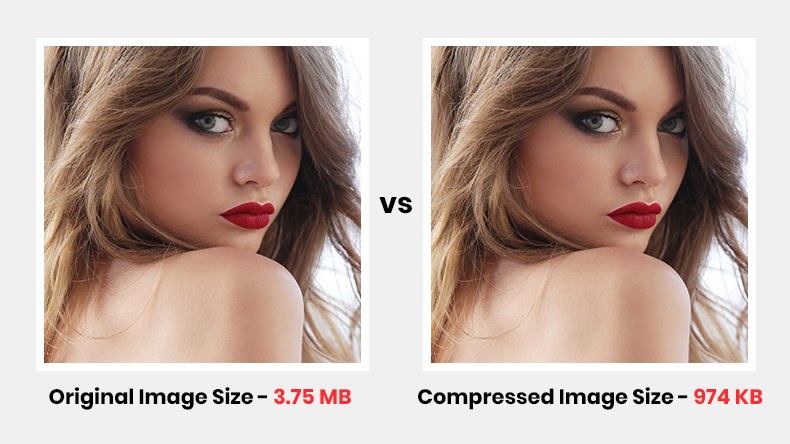
Use tools like TinyPNG, ImageOptim, or ShortPixel to compress images without losing quality. Most WordPress users should consider installing an image optimization plugin, such as:
Compression can significantly reduce file size while maintaining image clarity.
Lazy loading is a technique where images are loaded only when they’re about to be displayed on the screen, improving the initial page load time. WordPress comes with built-in lazy loading starting from version 5.5, so ensure it’s enabled on your site.
A CDN stores copies of your images on servers around the world, ensuring that they load quickly for users no matter where they are. Popular CDN options include Cloudflare, StackPath, and KeyCDN.

You can also define custom image sizes for your WordPress theme. This is particularly useful if your theme requires images that don’t conform to the default sizes. To add custom sizes, you can edit your theme’s functions.php file:
codefunction custom_image_sizes() {
    add_image_size('custom-size', 800, 600, true); // 800x600 pixels, hard crop
}
add_action('after_setup_theme', 'custom_image_sizes');
Once you’ve defined your custom sizes, they’ll be available when uploading images or adding them to your posts and pages.
Here are a few best practices to keep in mind:
Optimizing the size of images in WordPress is crucial for enhancing both the appearance and performance of your website. Whether you’re using a featured image, thumbnail, or background, selecting the appropriate size ensures your site remains visually appealing and loads quickly for users. By following the guidelines outlined in this article and optimizing your images with compression, lazy loading, and the right file formats, you’ll improve user experience and boost your site’s SEO potential.
With these tips, you’ll be well on your way to mastering the art of image optimization in WordPress!
Similar Articles
No results available
ResetNo results available
Reset© 2024 Examgyani Technologies Privated Limited | U62091UT2024PTC016769